Azure – Configure User Provisioning
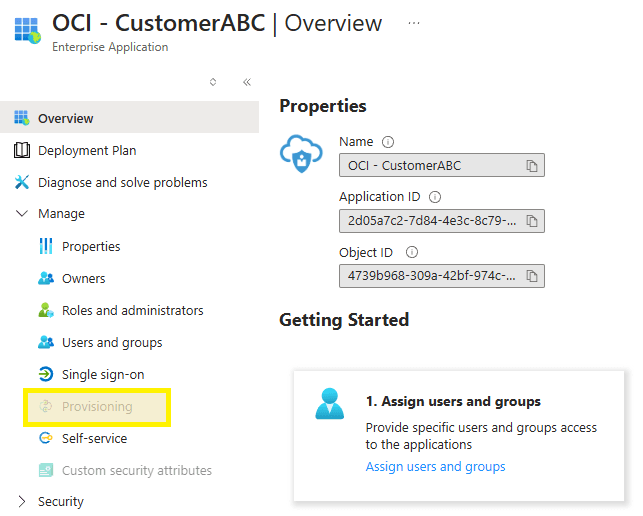
1. Return to the Azure portal enterprise app, select Provisioning from the left, and Get Started
2. Choose Automatic from the drop down menu

3. Enter the following details, click Test Connection, and click Save once confirmed
- Tenant URL: IDCS URL (copied previously) /admin/v1
- Secret Token: Base64 encoded string (copied previously)

4. Under Mappings, click Provision Microsoft Entra ID Users

5. Click Delete on all attributes except for the items listed below

6. Edit the Mail attribute

7. Choose UserPrincipalName for the source attribute and click OK

8. Click Save and return to the Provisioning Overview blade

9. Click Start Provisioning to start the sync from Azure to OCI

10. After a few moments, click Refresh and confirm the initial sync cycle completed successfully

11. Return to the OCI portal and confirm the user accounts have been provisioned. Add these users to the Domain Administrator group or create specialized policies as needed for the sync’d group objects to permit access to the Cloud Console.